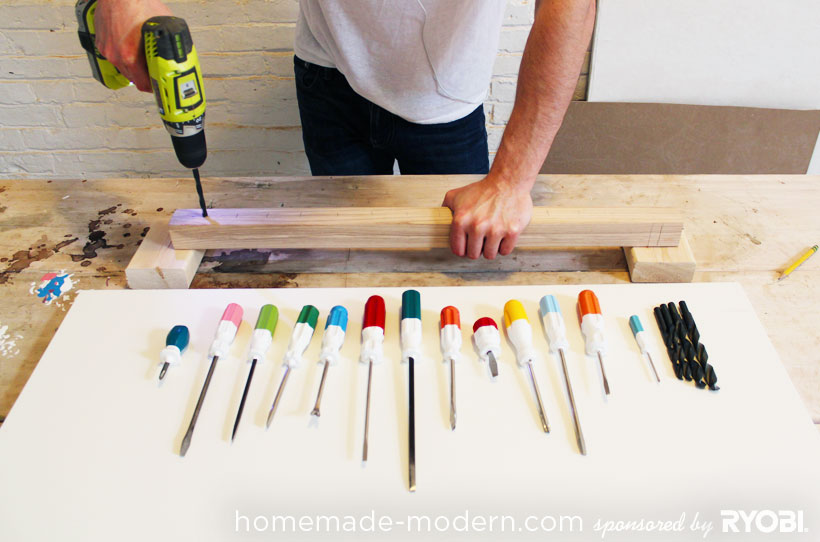
Instructions Make Wall Mounted Wooden Screwdriver Holder
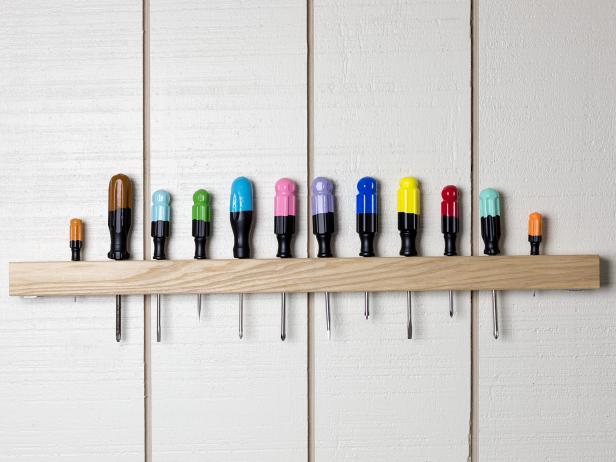
Make A Screwdriver Organizer Hgtv

French Cleat Screwdriver Holder Wall Storage Workshop Storage French Cleat Storage

How To Make A Wall Mounted Screwdriver Rack Storage Shed Organization Diy Storage Shed Shed Organization

How To Make A Screwdriver Holder Diy Youtube

2x4 Screwdriver Holder Garage Organization Tips Garage Organization Garage Organization Diy

How To Build A Screwdriver Organizer Diy Projects For Everyone Garage Workshop Garage Tool Storage Garage Organization

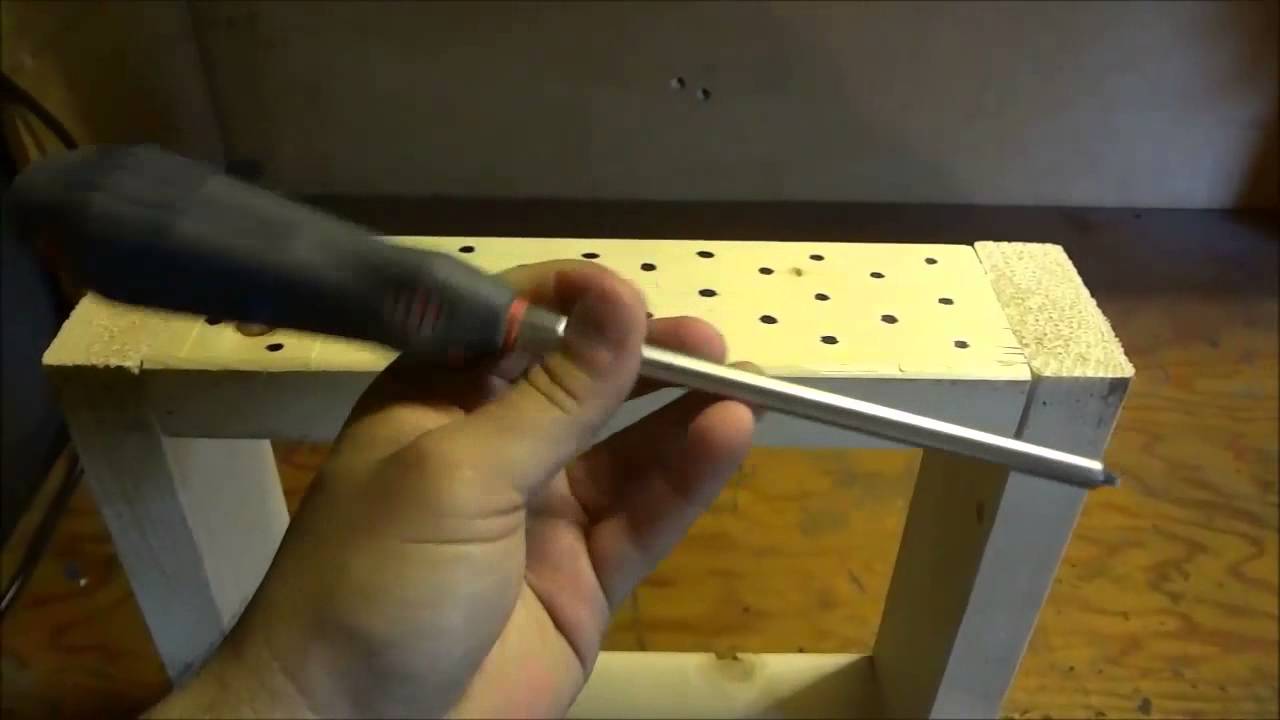
3d printed of course.
Instructions make wall mounted wooden screwdriver holder.

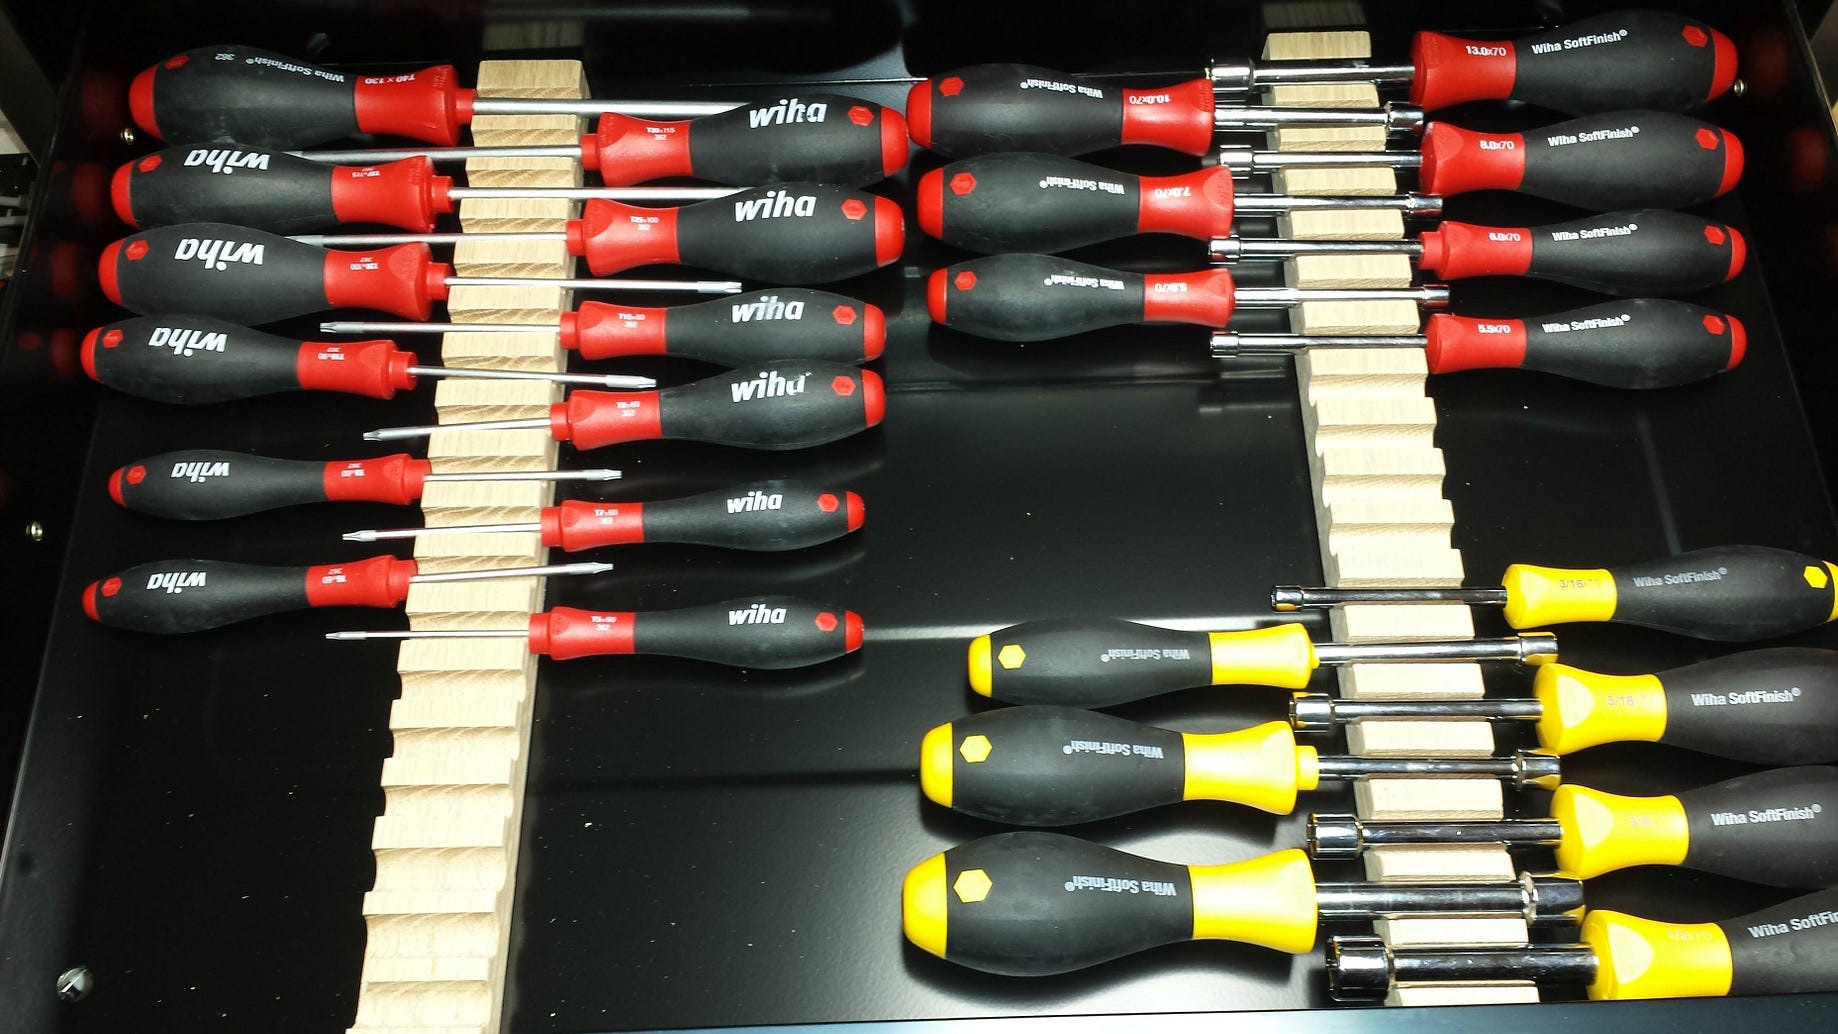
French Cleat Holder For Screwdrivers Tool Storage Cabinets Wall Hanging Storage French Cleat
How To Make An Easy Diy Screwdriver Coat Rack Man Made Diy Crafts For Men

Making A Two Tiered Screwdriver Holder Screwdriver Tool Holder Holder

Screwdriver Organizer Pliers Organizer Hammer Rack Wall Mounted Tool Storage Oganizer Wooden Tool Holders Org In 2020 Tool Wall Storage Tool Storage Tool Storage Diy

Screwdriver Organizer Pliers Holder Hammer Rack Wall Mounted Tools Organizers And Storage For Garage Workshop 3 Pack Amazon Com

Screwdriver Organizer Screwdriver Diy Organization Workshop Storage
How To Make The Ideal Screwdriver Rack Ron Hazelton

Screwdriver Rack Tool Storage Diy Woodworking Tools Storage Diy Garage Storage

2x4 Screwdriver Holder 2x4 Screwdriver Holder Another Use Flickr Screwdriver Shed Storage Storage Shed Kits

15 Brilliant Storage Organization Ideas Diy Garage Storage Garage Organization Tips Garage Organization
Diy Screwdriver Holder Handmade With Lovelisa

Quick Tip Homemade Pegboard Screwdriver Holder Tool Rack Plastic Storage Sheds Wood Storage Sheds

Screwdriver Organization For A French Cleat System Tool Storage Tools Wood Working Gifts

Do You Need An Organizer For Your Screwdriver Set Diy Garage Storage Screwdriver Screwdriver Set

Screwdriver Holder From Old Hard Drive Magnets Diy Garage Storage Garage Tool Organization Tool Storage
How To Make A Diy Screwdriver Holder Workshop Organization Youtube

Hofferwood S Image Garage Storage Garage Storage Solutions Garage Organization

Pin On House
Https Encrypted Tbn0 Gstatic Com Images Q Tbn 3aand9gcqm06b4n2lkghtnov Fnnk5xugk2euelf5o6yu9jss0sgzuybv5 Usqp Cau

Pin On Home Organization

Diy Drill Holder Power Tool Charging Station The Home Depot Youtube

Amazon Com Drill Charging Station Drill Storage Wall Mounted Tool Storage Organizer Power Tool Storage Tool Storage Tool Storage Diy Power Tool Storage

How To Build A French Cleat Tool Storage Wall How To Build A French Cleat Tool Storage Wall In 2020 Tool Storage Diy Tool Wall Storage Woodworking Tools Storage

Compact But Very Easy To Use Screwdriver Holder The Funnel Shape Guides The Tools And Makes Them Extremely Easy To Peg Board Pegboard Accessories Screwdriver
Source : pinterest.com
