Installing Metal Roof Valley Flashing

Pin On Ideas For The House

Pin On Metal Roofing

How To Install A Metal Roof Valley For Union S Masterrib Panel Metal Roof Roof Installation Corrugated Metal Roof

How To Flash Metal Roofing Systems Valley Installation Metal Roofing Systems Metal Roof Roofing Systems

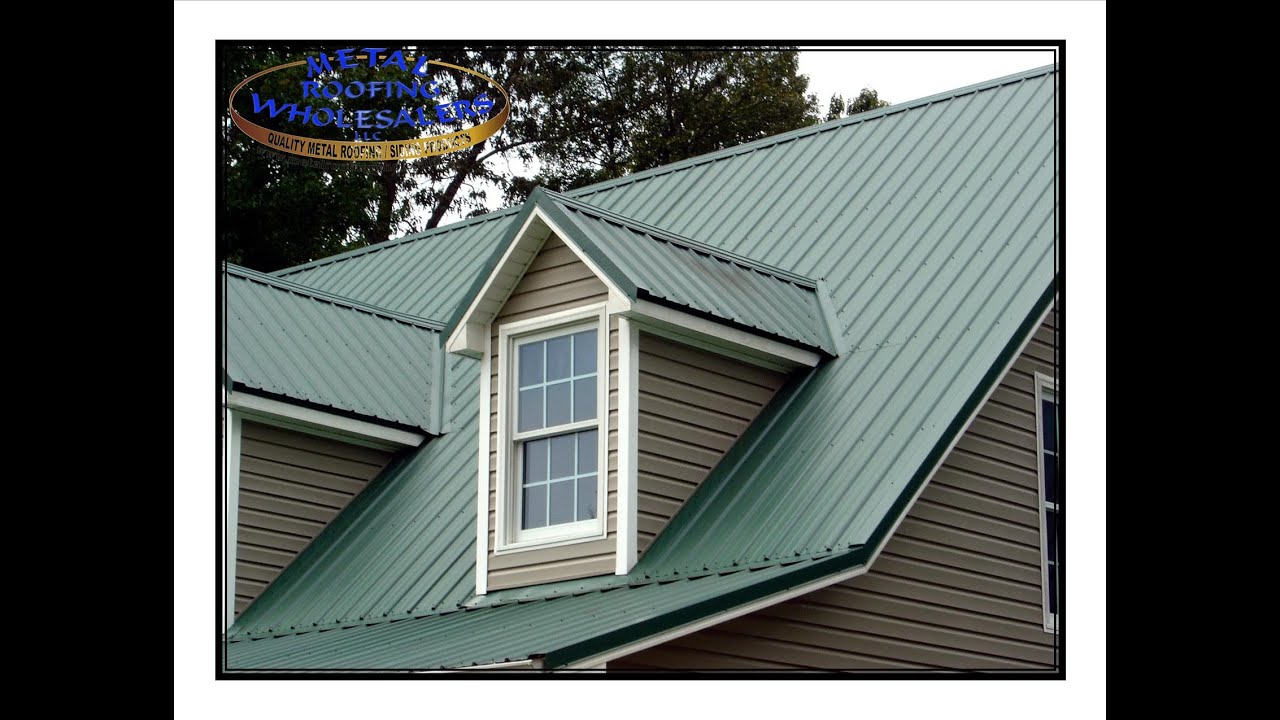
Dormer Valley Amazing P Installing Metal Roofing Around Dormers Big Metal Roof Panels Metal Roof Panels Metal Roof Roof Panels

How To Flash Corrugated Barn Roofing Google Search Roof Installation Metal Roof Installation Corrugated Roofing

Apply an approximately 3 inch.
Installing metal roof valley flashing.

This Picture Illustrates A Text Book 5 Ribbed Valley To Field Transition And A Step Flashed Side Wall Det Roof Detail Country Style Homes English Country Style

Pin On Exterior Paint And Roof Ideas

How To Install Metal Roof Rake Trim For Union S Masterrib Panel Metal Roof Installation Metal Roof Houses Roof Installation

Pin On Bdcs

Berridge Manufacturing Standing Seam Metal Roof Metal Roof Standing Seam

Pin On Diy Outdoor Projects

How To Install Metal Roofing For Your House With Your Own Hands Metal Roof Installation Metal Roof Over Shingles Metal Roof

Standing Seam Roofing Diagram Roof Commander Com Diy Metal Roof Roofing Roof Installation

Pin On House Ideas

Sw Valley On House Gazebo Roof House Roof Diy Roofing
Pin On Front Porch

Standing Seam Interlock Metal Roofing Metal Roof Houses Standing Seam Metal Roof

How To Repair Rotted Soffit And Fascia Rehang The Gutter Roof Installation Home Repairs

Close Up On Valley Created Using The Snaptablehd Metal Roof Standing Seam Metal Roof Standing Seam

Details That Matter On Asphalt Shingle Roofs Roof Installation Roof Shingles Fibreglass Roof

Pin On Week 6

Registrant Whois Contact Information Verification Copper Roof Roofing Roof Design

Green Metal Roof On Cedar Sided Home House Ideas Pinterest Standing Seam Metal Roof Metal Roof Installation Metal Roofing Prices
Https Encrypted Tbn0 Gstatic Com Images Q Tbn 3aand9gcr5devctpspmjin6zxod4jcq2oc Gn 0ajxjqf3utvbz Ui7nbv Usqp Cau

How To Repair Rotted Soffit And Fascia Rehang The Gutter Roof Roof Installation Roof Repair

Slate Roofing Closed Shingle Valley Vs Copper Valley Slate Roofing Closed Shingle Valley Vs Copper Valley Youtube Memph Slate Roof Cost Shingling Roofing

How To Install A Metal Roof Ridge Cap For Union S Masterrib Panel Metal Roof Installation Roof Installation Metal Roof

Pin On Roofs And Gutters

Pin On Roofing Tips And Ideas
Source : pinterest.com
