How To Use A Chalk Line For Roofing

Norm Abram S Best Tricks Of The Trade Ii Woodworking Woodworking Projects Plans Installing Roof Shingles

How To Shingle A Roof Diy Roofing Roofing Diy Roofing

Chalk Line On Roof Used To Help Lay Straight Rows Of Shingles Roofingshingles Asphalt Roof Shingles Installing Shingles Roofing

How To Use A Chalk Line Chalk Outdoor Tools Being Used

Using The Right Color Chalk Line When Installing Davinci Roof Tiles Does Make A Difference Http Dvroof Com U4leol Roof Installation Chalk Chalk It Up

Norm Abram S Best Tricks Of The Trade Ii Residential Roofing Roof Architecture Installing Roof Shingles

How to use a chalk line.
How to use a chalk line for roofing.

How To Use A Chalk Line Chalk Woodworking Projects Plans Woodworking Tips

Image Result For Wood Roof Shingle Drawing Detail Wood Roof Wood Roof Shingles Roof Shingles

How To Use A Chalk Line For Installing A Fence Wheelchair Ramp Handicap Ramps Home Repairs

Seamless Gutters Everything Gutter How To Install Gutters Gutters Diy Gutters

How To Create A Deck Dry Space Deck Remodel Under Deck Roofing Patio Under Decks

6 Enterprising Cool Ideas Roofing Tiles Edge Roofing Styles Building Glass Roofing Section Tin Roofing Gazebo Building A Shed Roof Roof Repair Modern Roofing

Pin On Fix Roof

Do It Yourself Roofing 3 Tab Asphalt Roof Shingle Installation With Straight And Uniform Rows Asphalt Roof Shingles Roof Shingles Roofing

How To Build A Garage From The Ground Up Building A Garage Roof Installation Roof Cost

Warner Chalk Line Marker Tool Contractor Plumb Line Drywall Chalkline Marker Masonry Chalk Line Marker Tool Snap Line Chal Plumbing Tools Plumbing Cleaning

How To Use A Chalk Line Chalk Pathway Landscaping Being Used

Corrugated Roof Installation Diychickencoop Corrugated Roofing Roof Installation Metal Roof

Common Roofing Errors Jlc Online Roofing Roof Underlayment Roof Repair Roofing Roofing Diy

Pin On Cutting Edge Roof Designs From Rhyne Restoration

Pin On Diy Storage Shed Plans

Slatestone Gray Trudefinition Duration Shingles Shingle Colors Roof Shingle Colors Architectural Shingles Roof

How To Create A Mood Board For Your New Roof Step Four After That We Usually Like To Add In Something Fun That Makes The M Roofing Shingling Roof Shingles

Quick Tip Shingle Siding Shingle Siding Installing Cedar Shake Siding Exterior Wall Siding

How To Install Cedar Shingle Siding Hunker Cedar Shingle Siding Shingle Siding Wood Shingle Siding

Pin On Roofing Ideas

Diy Under Deck Roof And Drainage System Part 1 Under Deck Roofing Under Deck Waterproofing Roof Deck

11 Grand Metal Roofing Colors Ideas Metal Roof Roofing Roof Styles

Pin On Alpha Rain Metal Roofing
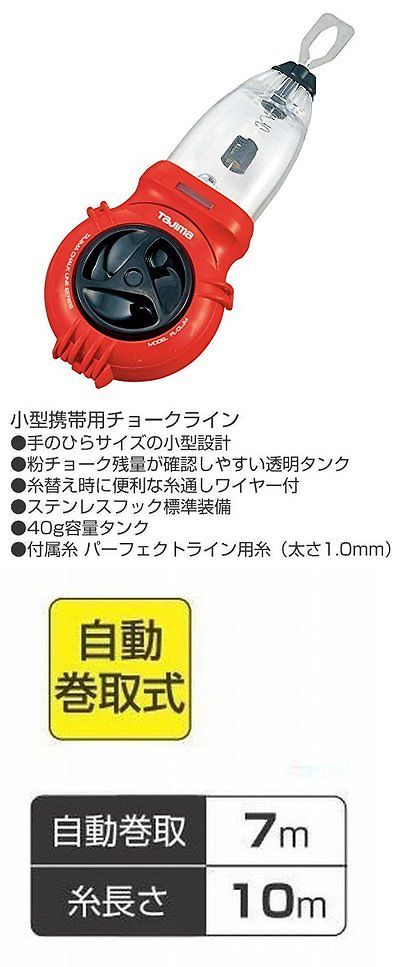
Chalk Lines And Marking Tools 178968 Tajima P Line Chalk Line Marker Automatic Reeling Pl Cljm Buy It Now Only 27 4 On Ebay Marking Tools Chalk Tajima
Source : pinterest.com
