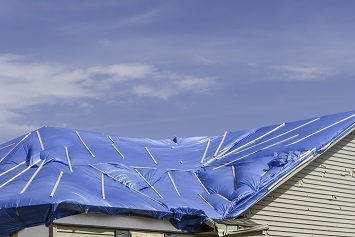
How To Tarp A Roof During Construction

How To Cover Your Roof With Paterson Poly Blue Tarps

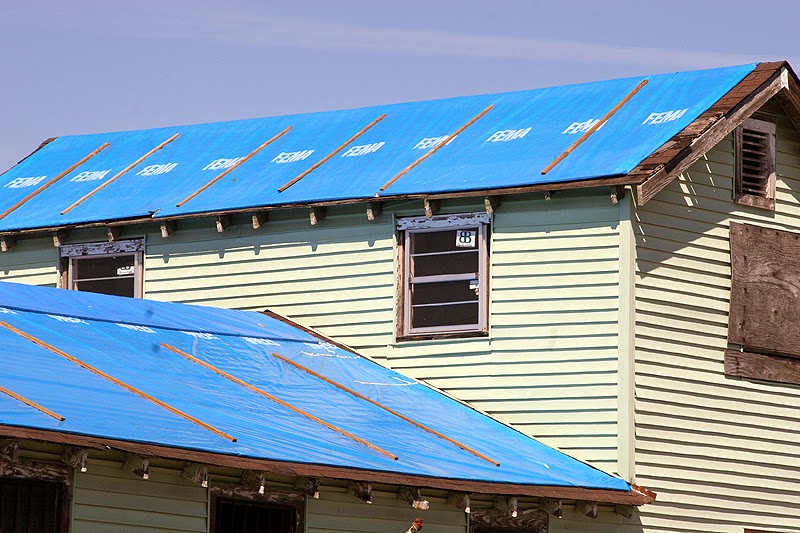
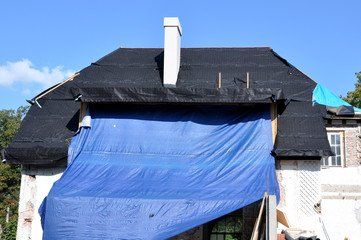
How To Cover Your Roof After Storm Damage Hunker
Why Roof Tarps Don T Work Perkins Roofing
How To Tarp A Roof Severe Weather Guide Youtube
How Much Will Mytemporary Repair Cost Tarp Nightmare

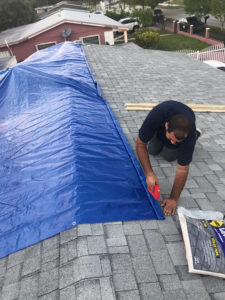
7 Steps To Temporarily Patch Your Roof With A Tarp Roof Emergency Roof Repair Roof Patch Roof Repair
It s even easier if you do it without nails.
How to tarp a roof during construction.
How To Tarp A Roof Without Nails Contractor Quotes

How To Tarp A Roof The Home Depot

Install A Blue Tarp On A Roof Diy In A Hour
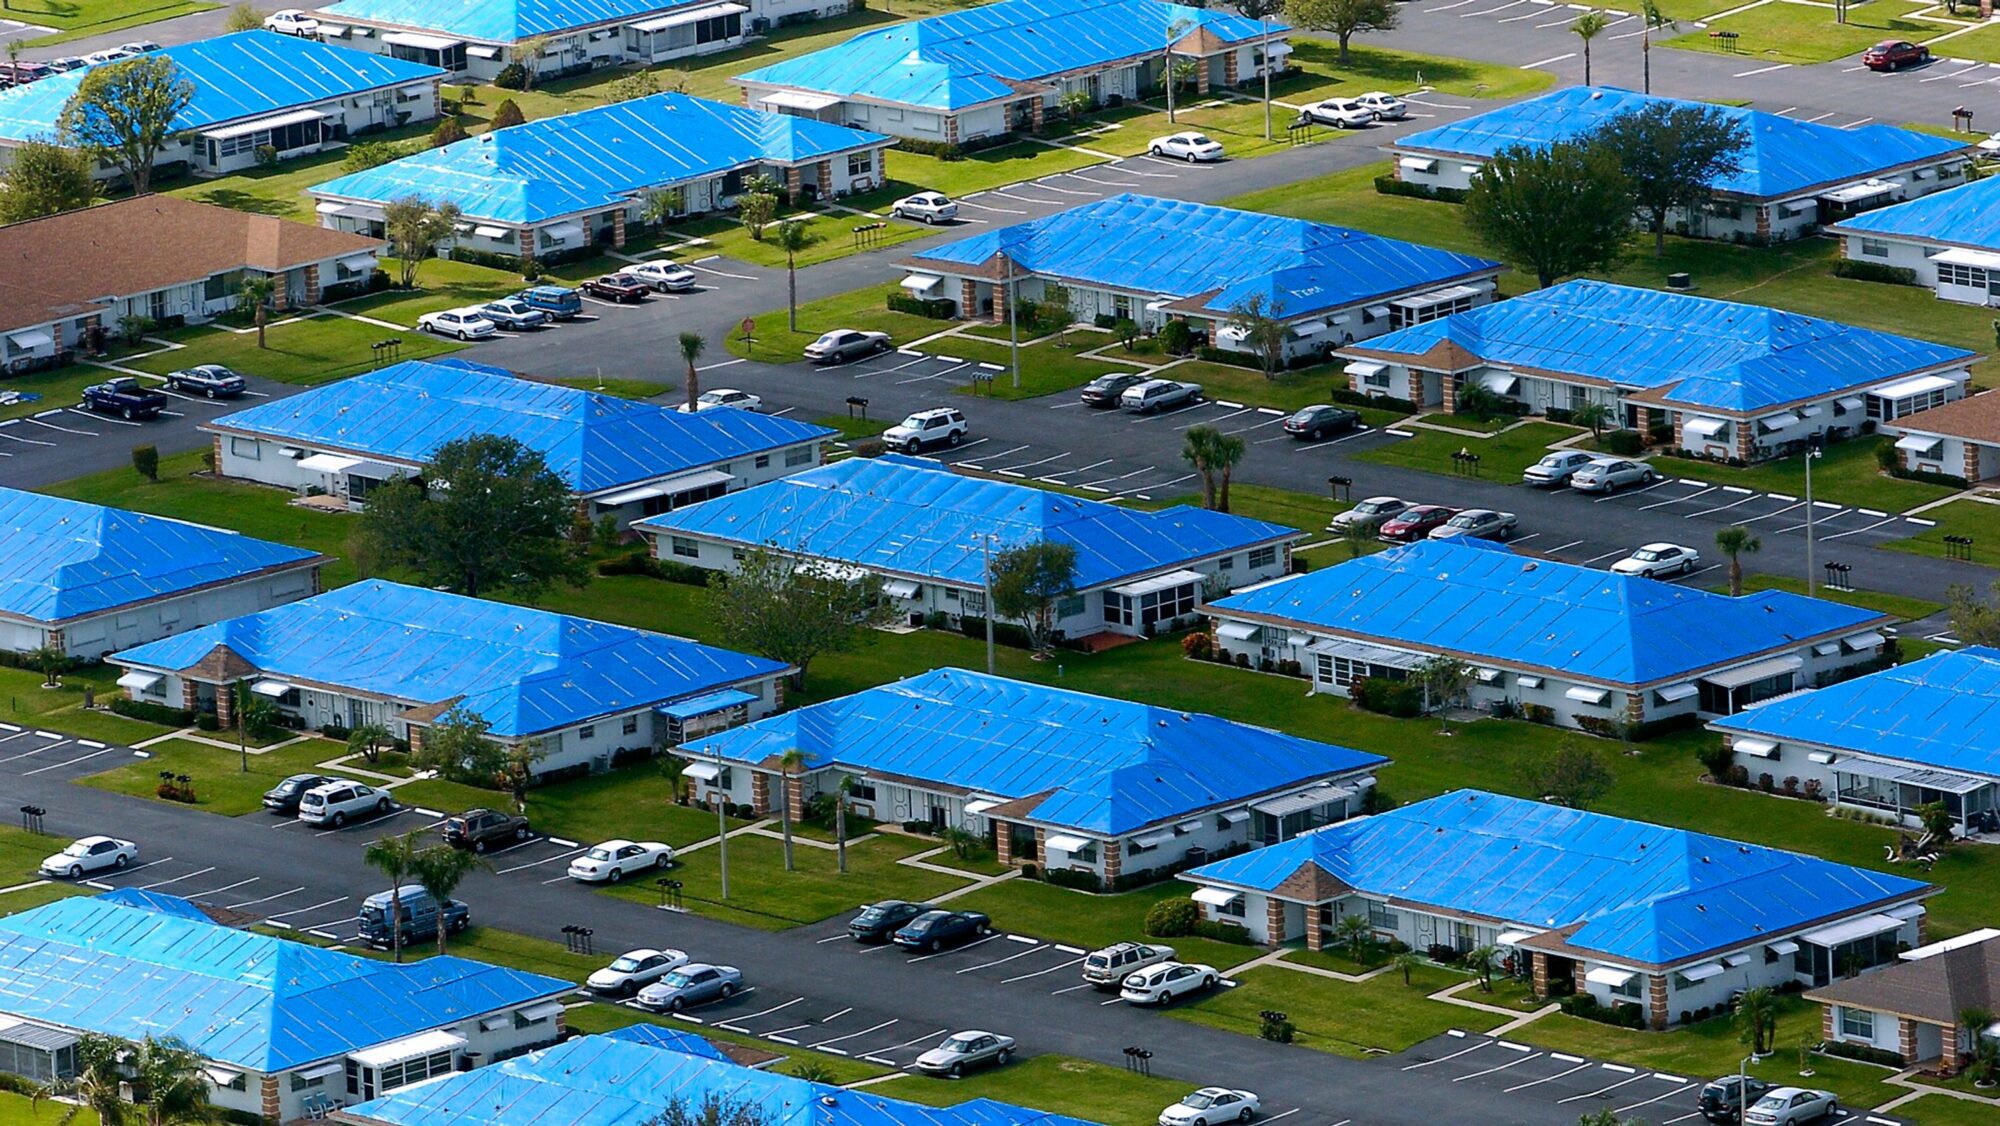
Blue Roof Recommendations From Osha Ehs Daily Advisor

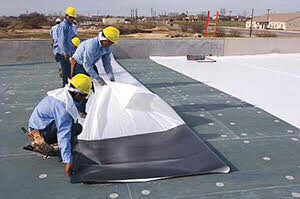
How To Install Tarp Protection To Keep A Project Safe
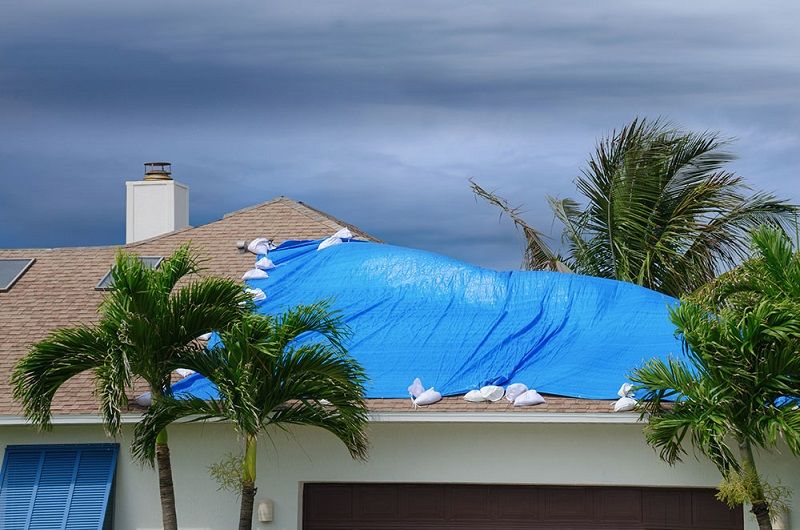
How To Tarp A Roof For Temporary Roof Repair

Emergency Roof Tarp Hurricane Damage Repair Belacris Construction And Roofing

Osha S Hazard Exposure And Risk Assessment Matrix For Hurricane Response And Recovery Work Roof Inspection Tarping Repair And Replacement
Roof Tarp Get Any Roof Leak Stopped Fast Cheap

How To Tarp A Roof Youtube

Tarp Installation American Loss Consultant

Emergency Roof Tarp Service Nelson Contracting Llc

What If It Rains During My Roof Installation Aj Wells Professional Roofers

Roof Repair Tarping

Emergency Roof Tarp Hurricane Damage Repair Rhyne Restoration

How To Tarp A Flat Roof Canopiesandtarps Com

Roof Tarp Roofing Roofing Services Best Roofing Company

How To Temporarily Cover Your Roof When It Leaks Using A Tarp Youtube
Https Encrypted Tbn0 Gstatic Com Images Q Tbn 3aand9gcqhb7ffttswzcd5bnmttwzlb2ltnhgsraaqv1abzyggrzzoka9a Usqp Cau

Proper Tarp Covering Is Important If You Think You Might Have A Leak Damage To Your Roof 406 272 5109 Decorating Blogs Roof Roofing

During Photo Showing A Crs Crew Setting Up Our Tarp System That Not Only Protects The Home But The L Architectural Shingles Residential Roofing Window Repair

Heavy Duty Waterproof Roof Tarps Tarp Factory
High Performance Adhesive Roof Tarp And Roofing Materials From Cti

Tarp A Roof With Images Roofing Cool Roof Backyard Buildings
Source : pinterest.com
